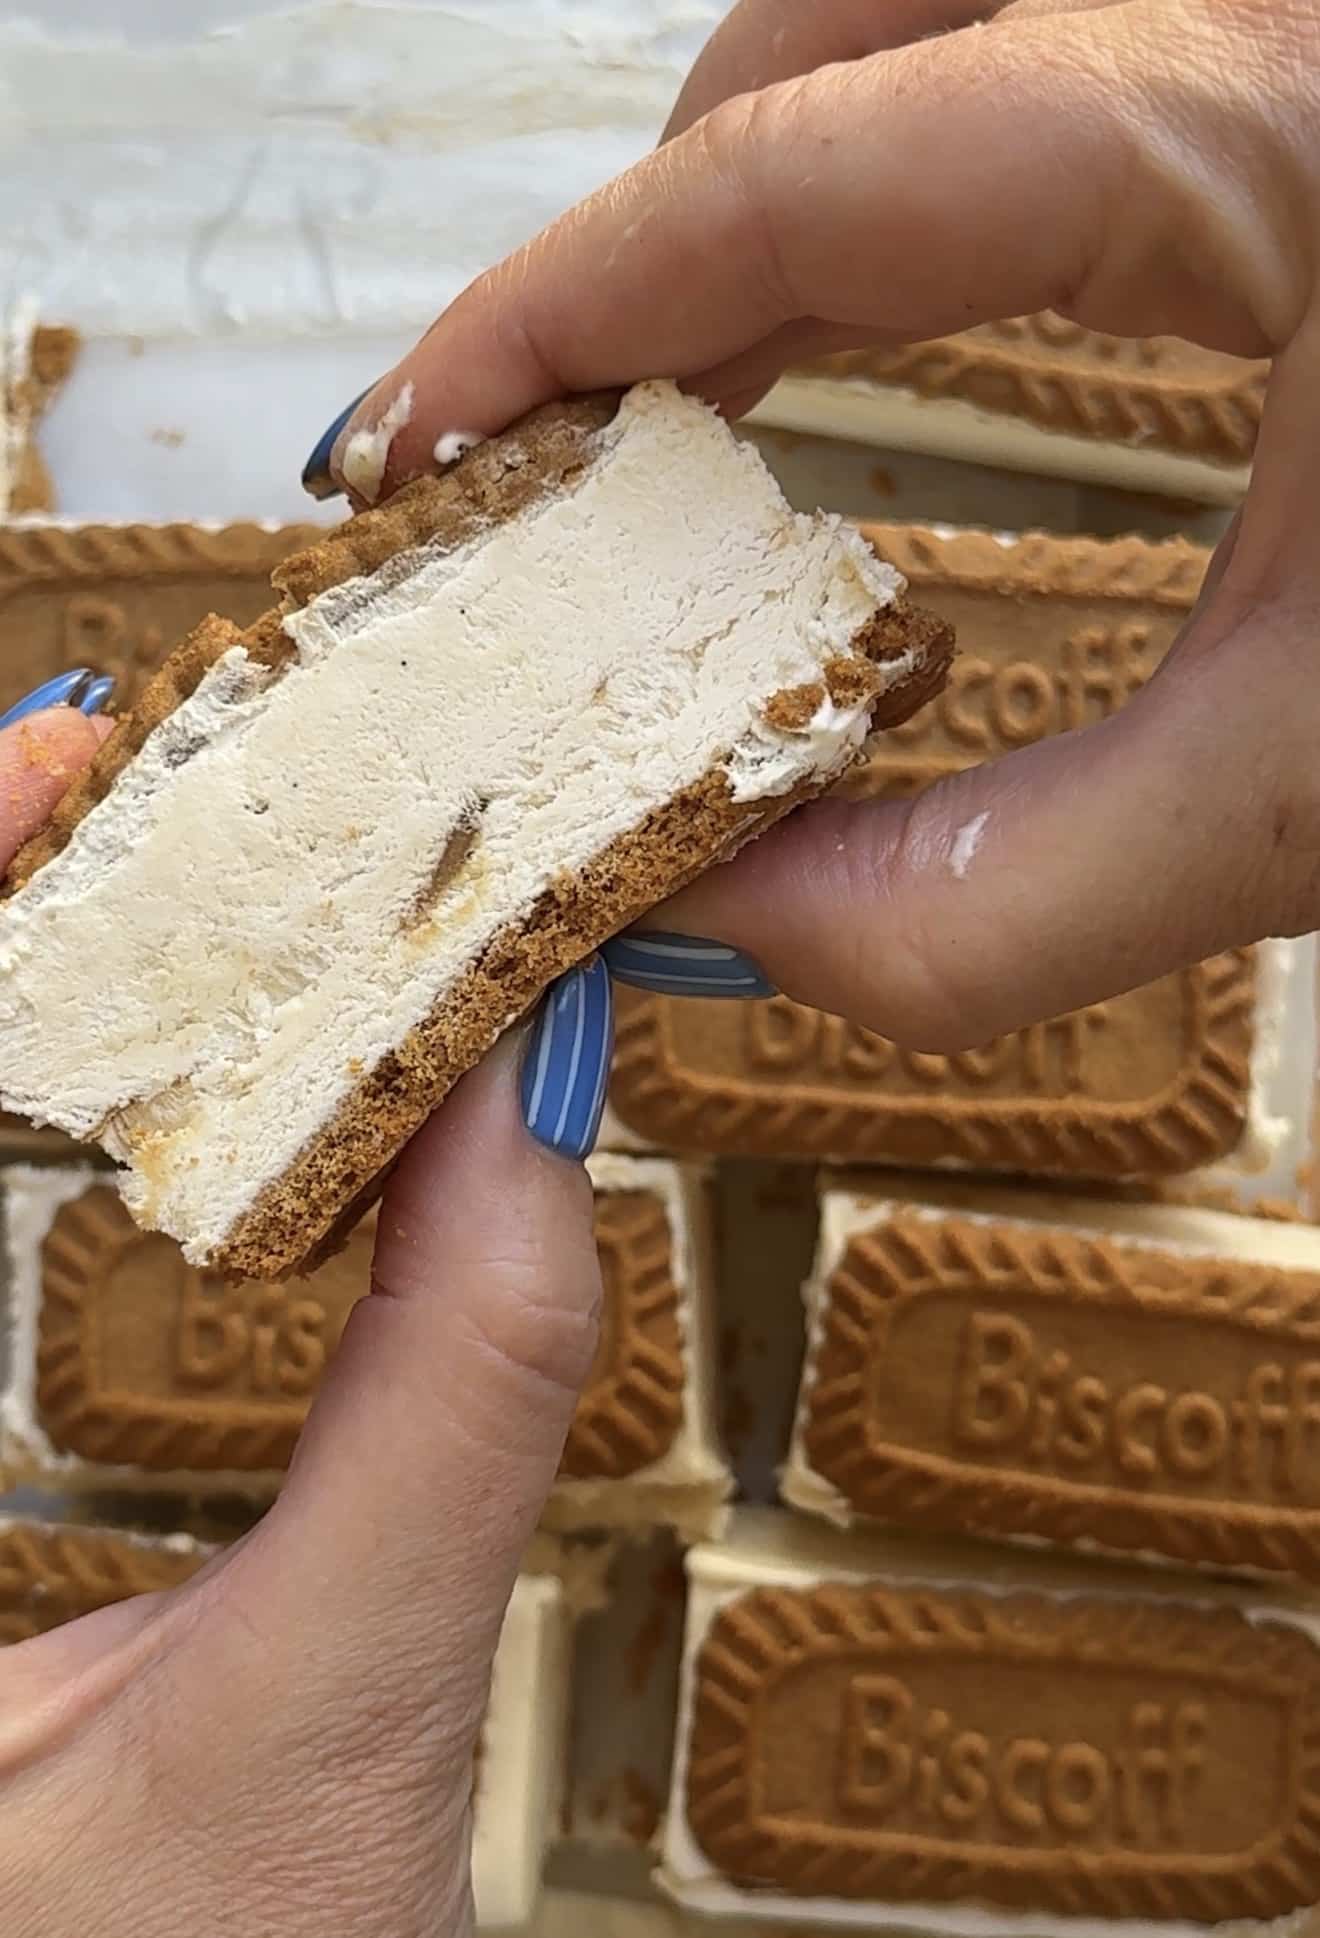
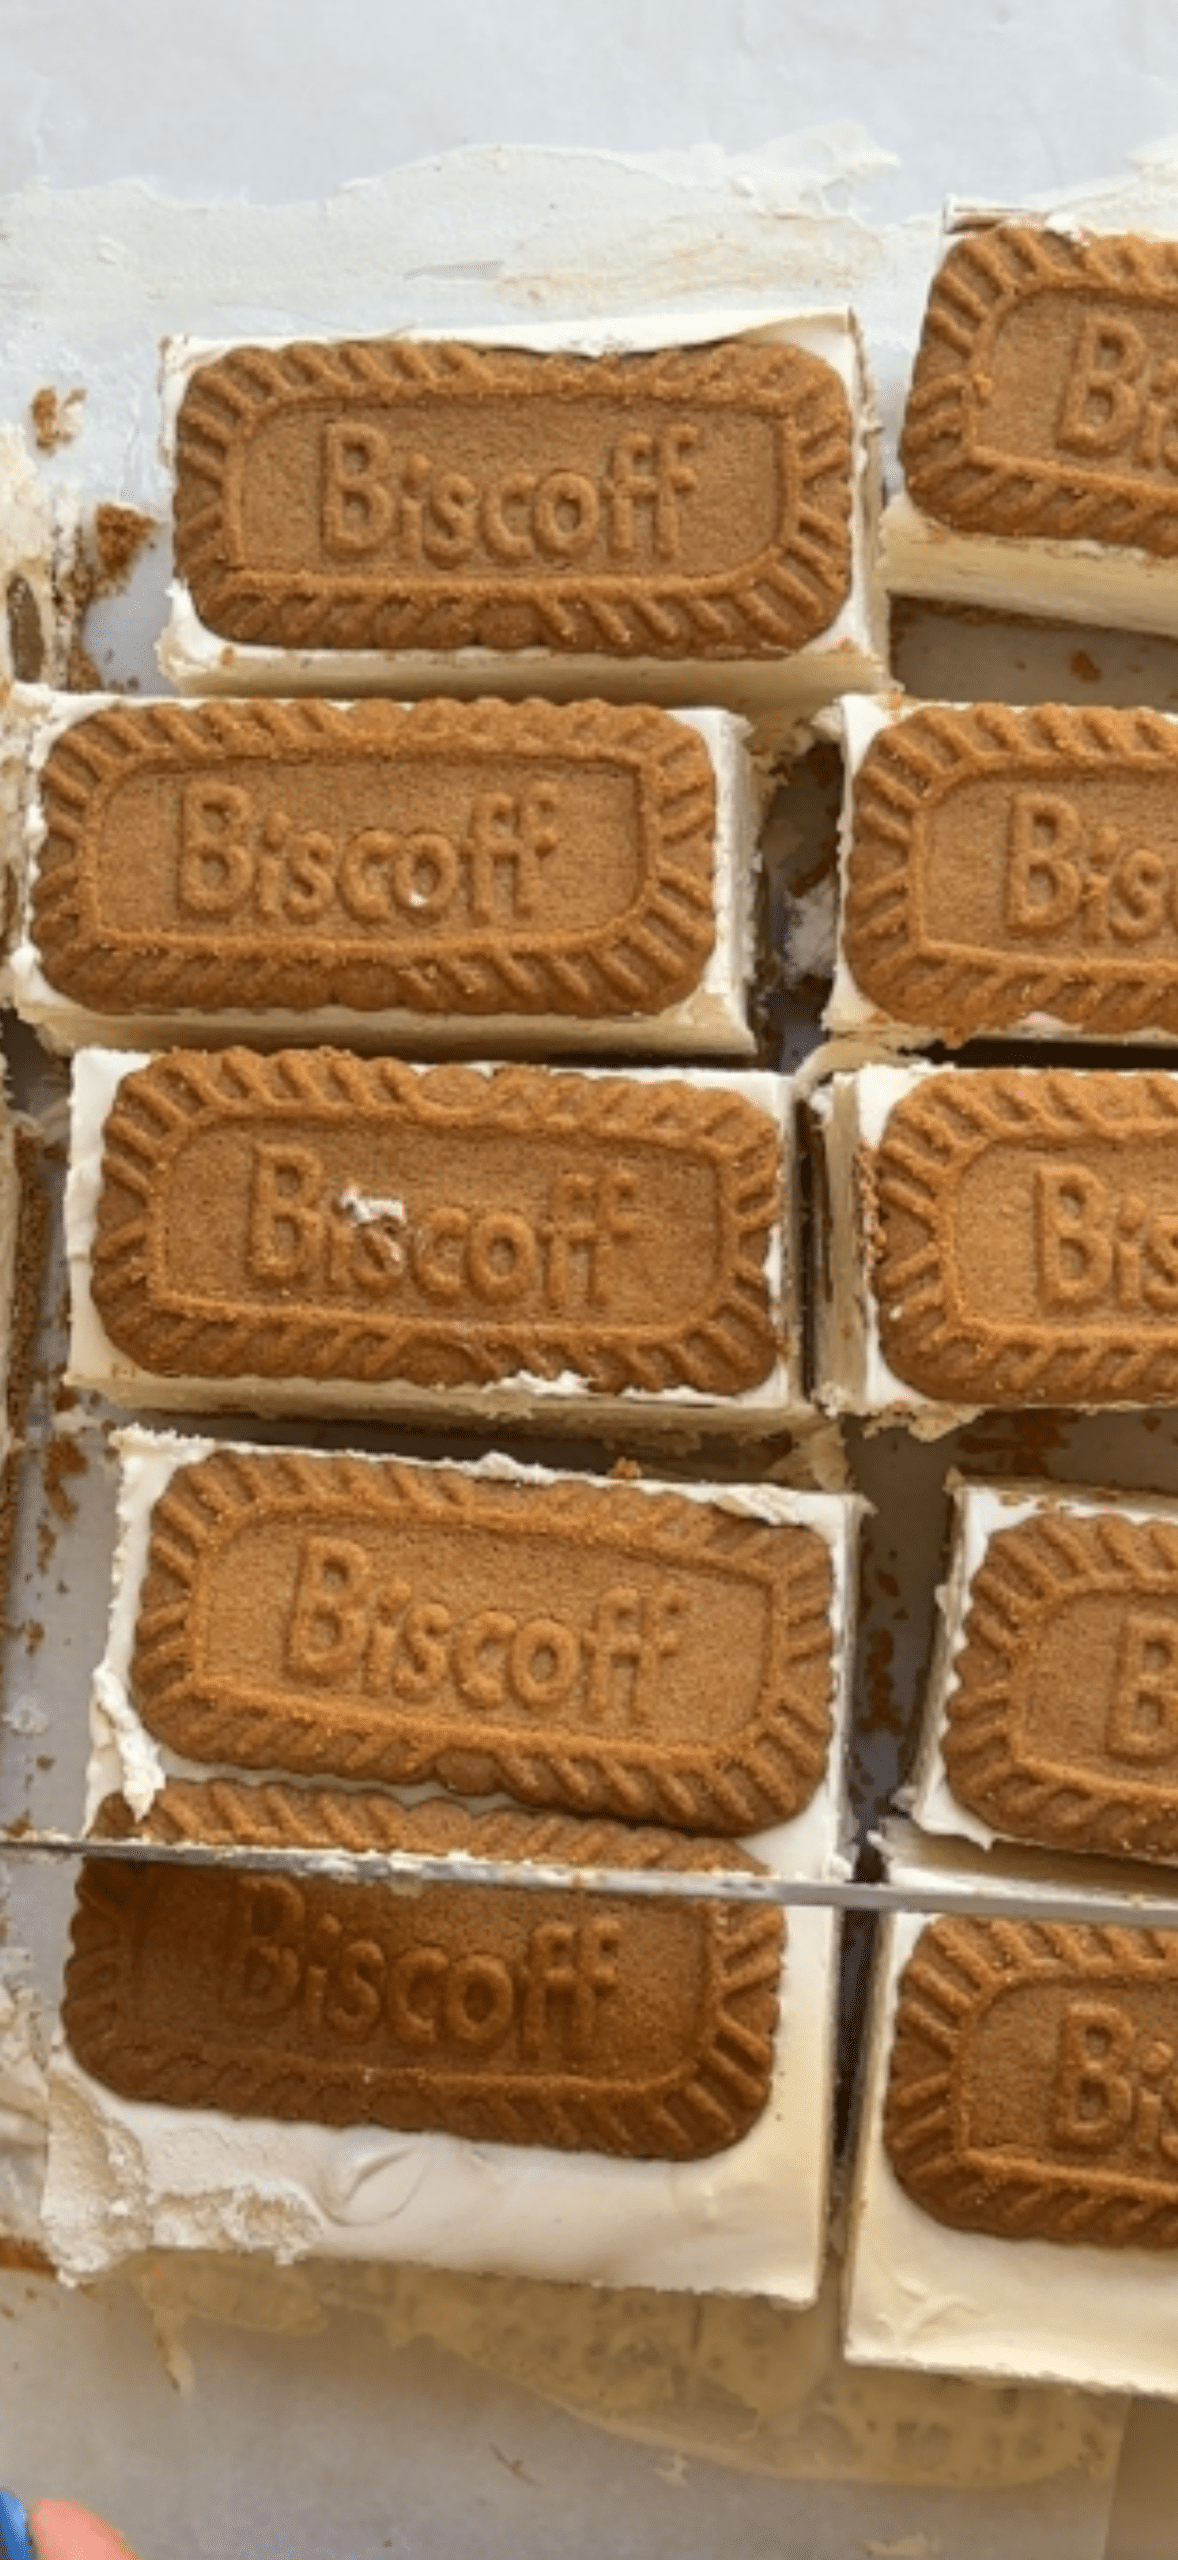
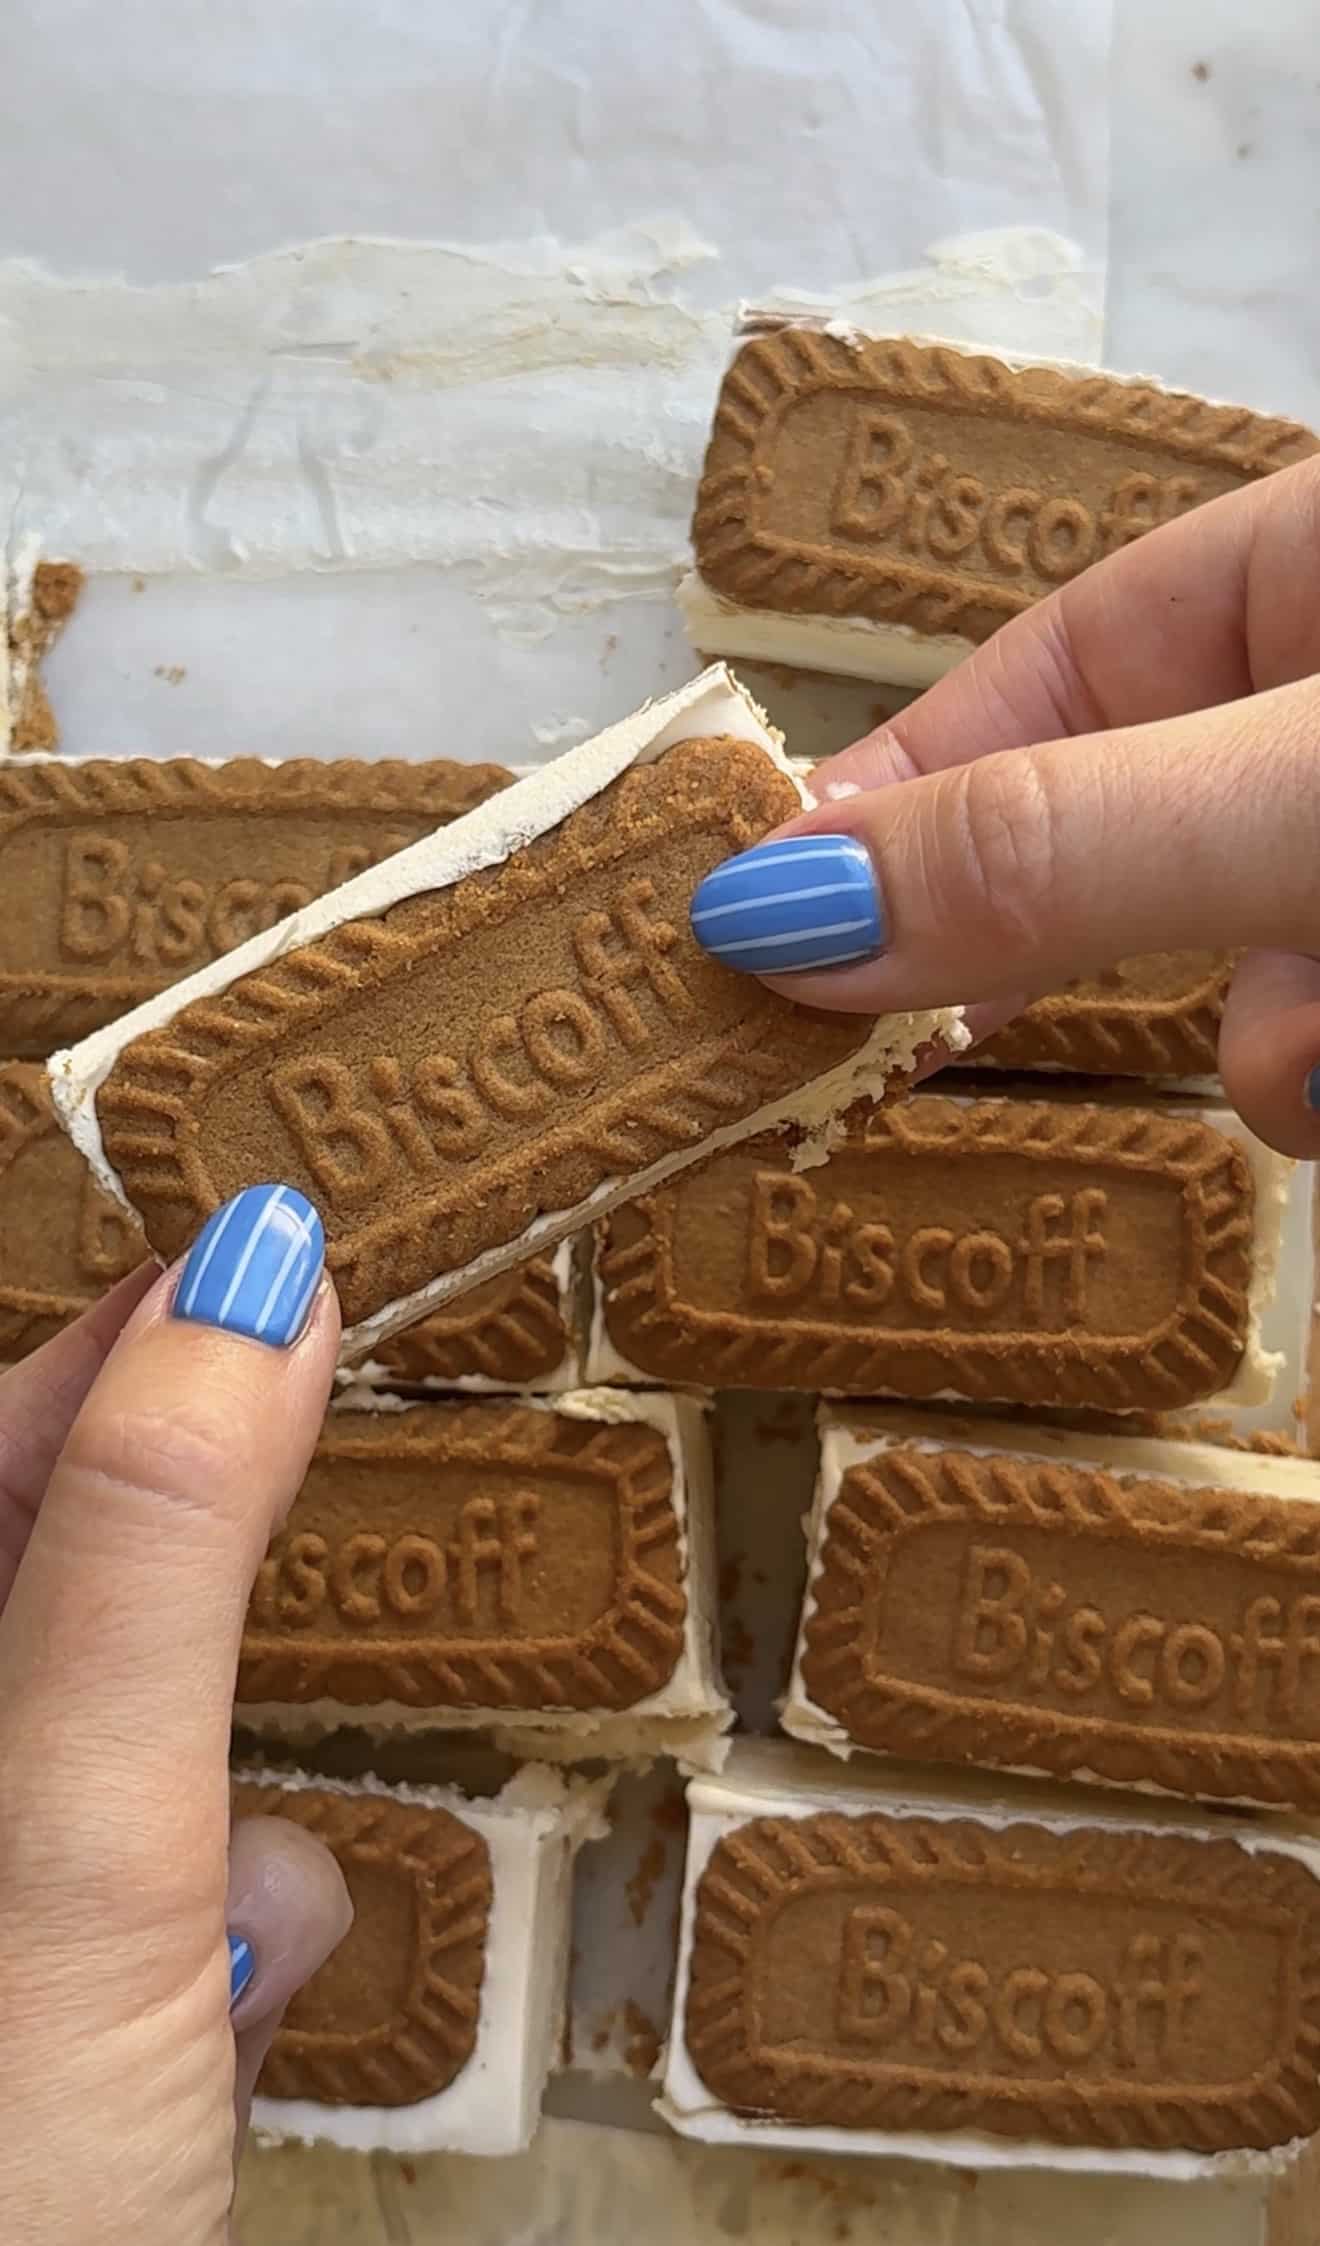
These Frozen Biscoff Ice Cream Bars are an easy summer dessert that looks impressive but requires very little work. Layers of Biscoff cookies sandwich a thick, creamy homemade no-churn ice cream filling with plenty of cookie butter flavor swirled right through the center.
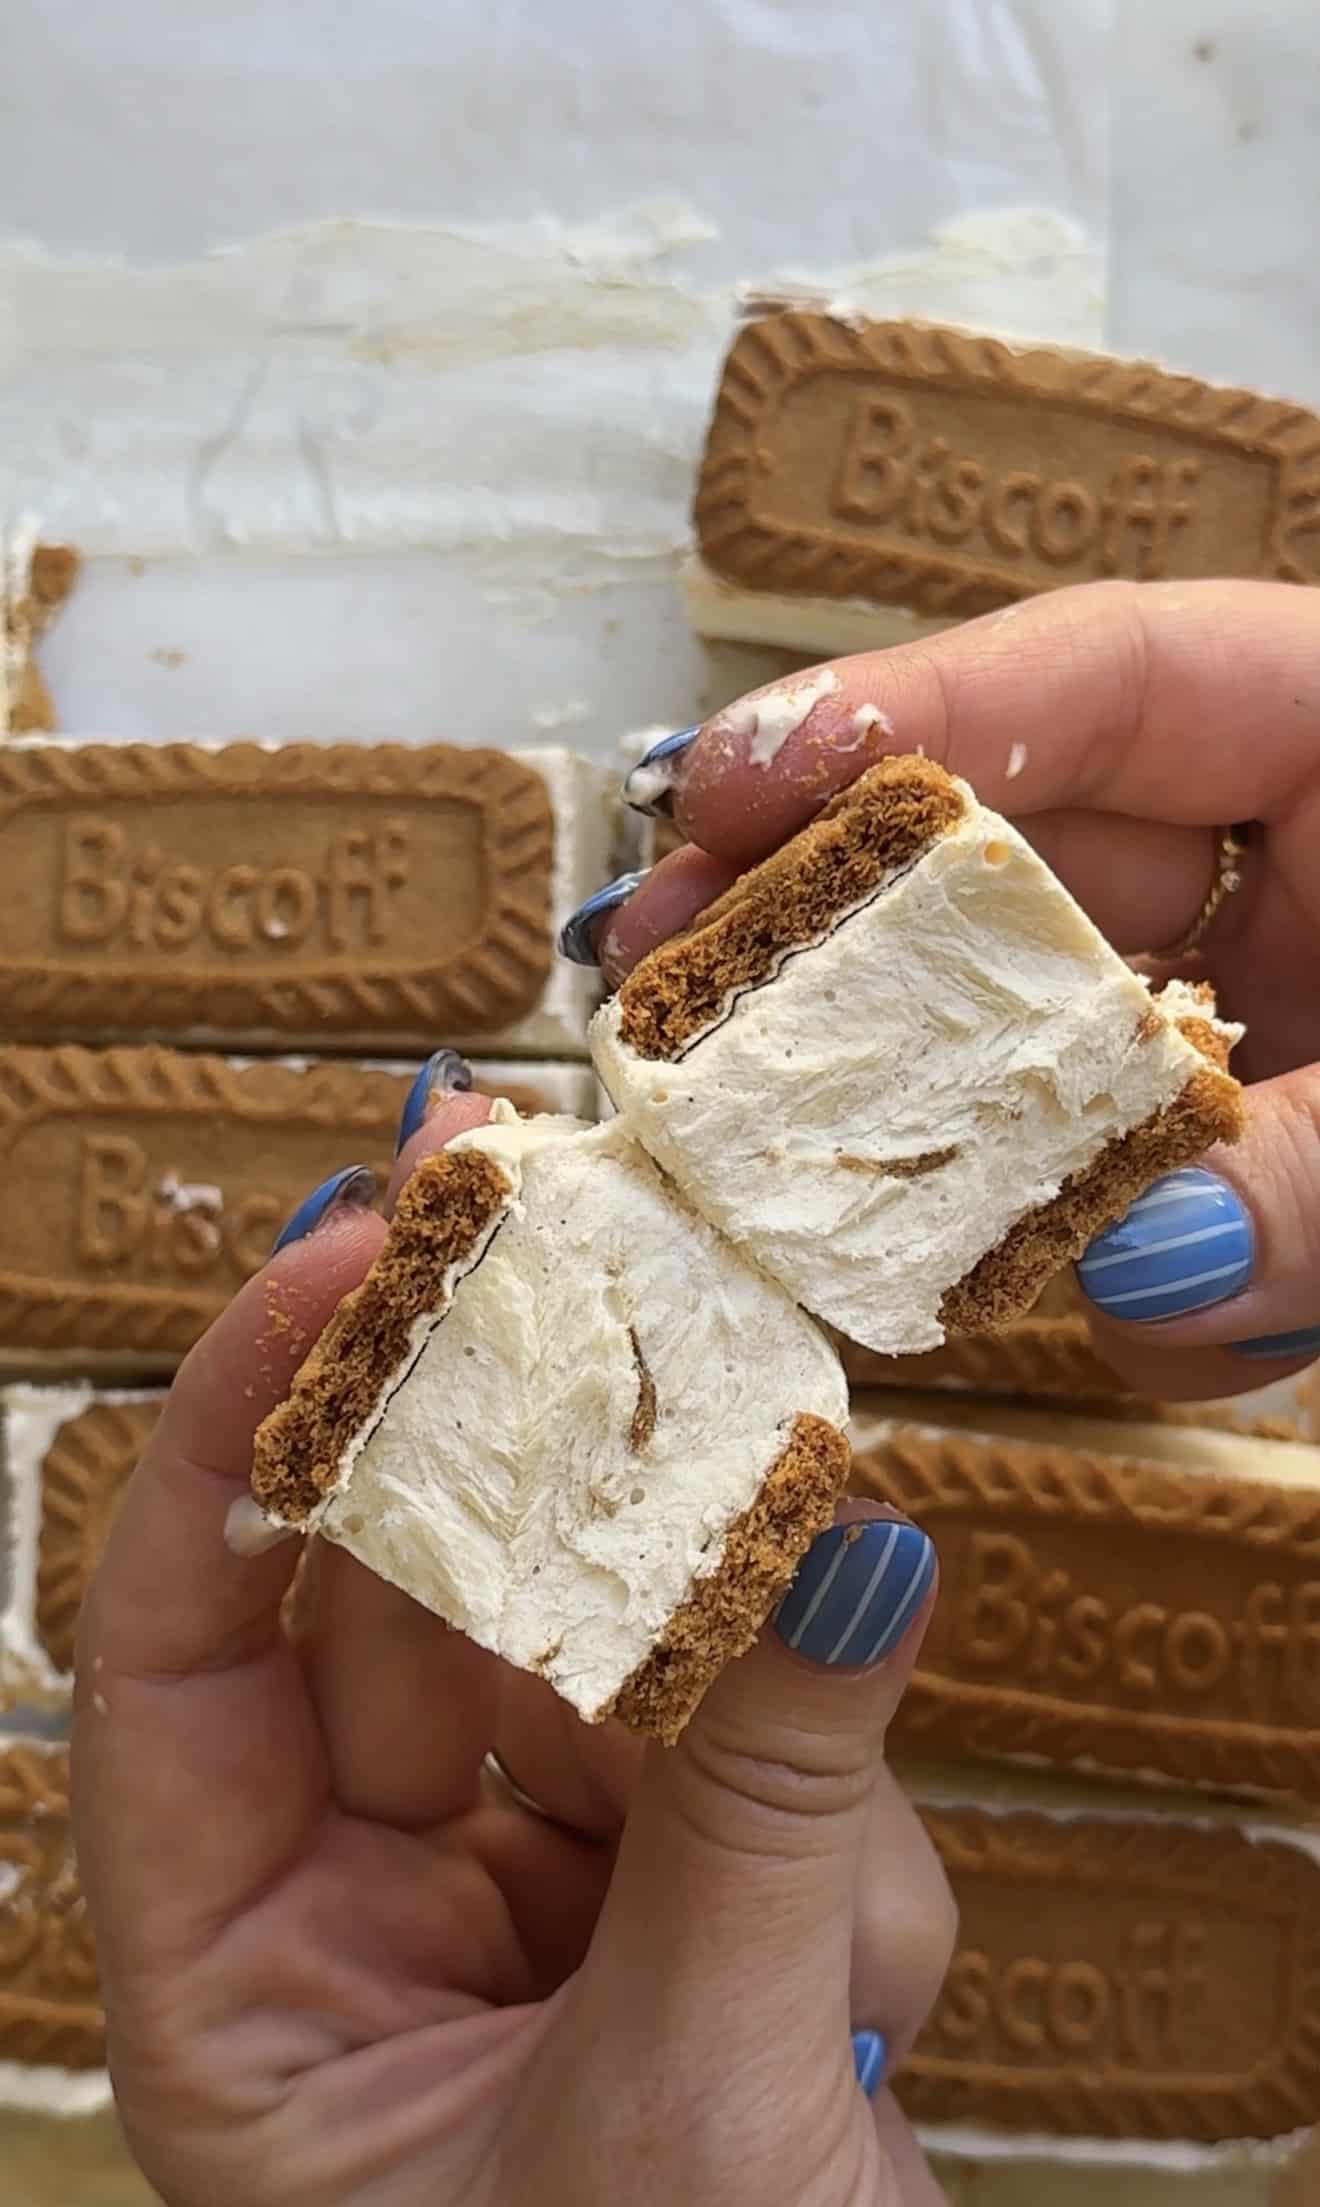
The best part is that you don’t need an ice cream maker. Heavy whipping cream, sweetened condensed milk, and Cool Whip create a rich but fluffy frozen filling that stays creamy once it has a few minutes to soften. I mix cookie butter directly into the ice cream base, then add another layer of warmed cookie butter through the center for extra Biscoff flavor in every bite.
Ingredients
- 24 Biscoff cookies, divided
- 1 cup cold heavy whipping cream
- 1/2 cup sweetened condensed milk
- 1 teaspoon vanilla bean paste
- Pinch of salt
- 8 ounces Cool Whip, thawed
- 4 tablespoons Biscoff cookie butter, divided
Key Ingredient Breakdown
Biscoff Cookies
The Biscoff cookies create the top and bottom layers of these frozen ice cream bars. You’ll use 12 cookies on the bottom and 12 on top. The cookies soften slightly where they touch the creamy filling, creating a texture similar to an ice cream sandwich once the bars have had a few minutes to sit at room temperature.
Heavy Whipping Cream
Heavy whipping cream creates the rich base for the homemade no-churn ice cream filling. Make sure it is very cold before whipping so it reaches stiff peaks and gives the filling plenty of structure.
Sweetened Condensed Milk
Sweetened condensed milk adds sweetness and helps give the filling a smooth, creamy frozen texture without needing an ice cream maker.
Cool Whip
Cool Whip lightens the ice cream filling and gives it a fluffy texture that is easy to bite into after the bars have softened for a few minutes.
Biscoff Cookie Butter
Cookie butter is used in two different ways. Two tablespoons are incorporated directly into the creamy ice cream filling, while another two tablespoons are warmed and swirled through the center of the bars. This gives you plenty of Biscoff flavor without making the entire filling overly dense or sweet.
Vanilla Bean Paste and Salt
Vanilla bean paste adds a deeper vanilla flavor and those beautiful little vanilla bean specks throughout the ice cream filling. A pinch of salt balances the sweetness of the condensed milk and cookie butter.
How to Make Frozen Biscoff Ice Cream Bars
Prepare the Pan
Line an 8×8-inch baking pan with parchment paper, leaving enough overhang on the sides to easily lift the frozen bars from the pan.
Arrange 12 Biscoff cookies in an even layer across the bottom of the prepared pan.
Whip the Heavy Cream
Add the cold heavy whipping cream to a large mixing bowl.
Using an electric mixer, beat until stiff peaks form. Be careful not to overmix the cream.
Make the Biscoff Ice Cream Filling
In a separate large bowl, stir together the sweetened condensed milk, vanilla bean paste, a pinch of salt, and 2 tablespoons of Biscoff cookie butter until smooth and fully combined.
Gently fold the whipped heavy cream into the sweetened condensed milk mixture until mostly combined.
Add the thawed Cool Whip and continue gently folding until the filling is smooth, fluffy, and no streaks remain.
Assemble the Ice Cream Bars
Spread half of the ice cream filling evenly over the bottom layer of Biscoff cookies.
Warm the remaining 2 tablespoons of cookie butter for a few seconds, just until pourable.
Drizzle the warmed cookie butter over the filling and gently swirl it through the mixture with the tip of a knife or a toothpick.
Spread the remaining ice cream filling over the top and smooth into an even layer.
Arrange the remaining 12 Biscoff cookies over the top, matching their placement with the cookies underneath as closely as possible. This will make the frozen bars easier to slice.
Freeze and Serve
Cover the pan tightly and freeze for at least 6 hours, preferably overnight.
When ready to serve, remove the pan from the freezer and let it sit at room temperature for about 10 minutes.
Use the parchment paper to lift the frozen dessert from the pan. Slice into 12 bars, using the top cookies as your guide, and serve immediately.
Tips for the Best Biscoff Ice Cream Bars
Use very cold heavy whipping cream. Cold cream whips faster and holds more air, giving the ice cream filling its creamy, fluffy texture.
Whip the cream to stiff peaks. The whipped cream gives the filling structure, but stop mixing as soon as stiff peaks form so you don’t accidentally turn the cream grainy.
Fold instead of mixing. Gently folding the whipped cream and Cool Whip into the condensed milk mixture keeps the air in the filling and creates a lighter frozen texture.
Warm the cookie butter briefly. You only need to microwave it for a few seconds. It should be pourable but not hot when you swirl it through the filling.
Match the top and bottom cookies. Try to position the cookies in the same pattern so each bar has a complete Biscoff cookie on the top and bottom.
Freeze overnight when possible. The bars need at least 6 hours to freeze completely, but overnight gives you the best texture and cleanest slices.
Give the bars time to soften. Let them sit at room temperature for about 10 minutes before eating. This gives the no-churn ice cream filling the creamiest texture.
Frequently Asked Questions
Do I need an ice cream maker to make Biscoff Ice Cream Bars?
No! These are no-churn ice cream bars, so no special equipment is needed beyond an electric mixer for whipping the heavy cream.
Can I use vanilla extract instead of vanilla bean paste?
Yes. You can substitute 1 teaspoon of vanilla extract for the vanilla bean paste. The flavor will still be delicious, but you won’t have the visible vanilla bean specks throughout the filling.
How long do Biscoff Ice Cream Bars need to freeze?
Freeze the bars for at least 6 hours. For the firmest bars and easiest slicing, I recommend freezing them overnight.
Do the Biscoff cookies stay crunchy?
The cookies will soften slightly where they touch the ice cream filling. This gives them a softer texture similar to the cookie portion of a traditional ice cream sandwich.
How do I store leftover Biscoff Ice Cream Bars?
Keep the bars tightly covered in the freezer or transfer the sliced bars to an airtight freezer-safe container.
How long will homemade Biscoff Ice Cream Bars last in the freezer?
For the best texture and flavor, I recommend enjoying them within 1 to 2 weeks.
Can I make these frozen Biscoff bars ahead of time?
Absolutely. These are a great make-ahead dessert for summer parties, barbecues, and family gatherings. Assemble the bars the day before you need them and keep them frozen until shortly before serving.
Ingredients
Method
- Line an 8×8-inch baking pan with parchment paper, leaving enough overhang on the sides to easily lift the frozen bars from the pan.
- Place 12 Biscoff cookies in an even layer across the bottom of the prepared pan.
- Add the cold heavy whipping cream to a large mixing bowl. Using an electric mixer, beat until stiff peaks form. Set aside.
- In a separate large bowl, mix the sweetened condensed milk, vanilla bean paste, pinch of salt, and 2 tablespoons of Biscoff cookie butter until smooth and fully combined.
- Gently fold the whipped heavy cream into the sweetened condensed milk mixture until mostly combined.
- Add the thawed Cool Whip and gently fold until the filling is smooth, fluffy, and no streaks remain.
- Spread half of the ice cream filling evenly over the bottom layer of Biscoff cookies.
- Warm the remaining 2 tablespoons of Biscoff cookie butter for a few seconds, just until pourable. Drizzle it over the filling and gently swirl it through with the tip of a knife.
- Spread the remaining ice cream filling evenly over the cookie butter swirl.
- Arrange the remaining 12 Biscoff cookies over the top, matching their placement with the bottom cookies as closely as possible.
- Cover the pan tightly and freeze for at least 6 hours, preferably overnight.
- Remove the bars from the freezer and let them sit at room temperature for about 10 minutes. Lift from the pan using the parchment paper, slice into 12 bars using the top cookies as your guide, and serve immediately. Wrap any leftovers and place in freezer.